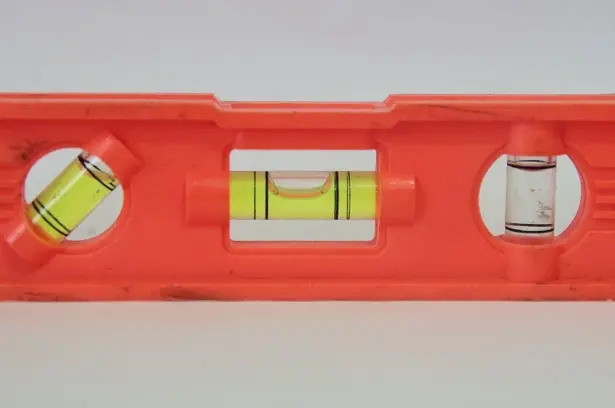
6 simple steps for proper use of spirit levels
In a truism that dates back hundreds of years, human beings simply need spirit levels. Why’s that? Because so many of the man-made things we now rely upon require precisely straight lines – and nothing in nature, even the edge of a crystal or a strand of spider silk, manages to achieve that sort of precision.
So whether you’re in carpentry, bricklaying, building, surveying, millwright, framing or several dozen other critical industries, it will take no level of educated guesswork to categorically assume that a spirit level (or 3) is in those tool chests. There are different sizes, different materials, differing levels of precision, multi-vial versions, magnetic features, circular ‘bull’s eye’ varieties and many, many more. But what they all do on the most fundamental level, thanks to that ingenious bubble suspended in ‘spirit’, is ensure that those horizontal or vertical surfaces are dead flat.
But before we celebrate our collective half-millennia or more of confidence that humans really can use a simple tool to sign off on yet another perfectly straight line, we’ll need to use how to properly use a spirit level:
1. Choose your vial
Depending on your industry and particular project, you may need a particular type or size of the spirit level.
2. Is it accurate?
The only thing worse than having no spirit level is having an inaccurate one – because at least in the case of the former, you lack the confidence to proceed.
Every now and then, you’ll definitely need to check or calibrate your spirit levels. Here’s how:
- Put your horizontal level on a verified flat horizontal surface
- Make a mark at one end of the level, and another mark along the tool’s body in line with the bubble/vial
- Note the position of the bubble
- Rotate the spirit level from left to right and line it up with your markings
- Is the bubble reading the same?
3. Is it clean?
A clean bottom surface of the level is obviously critical to taking accurate readings, as even an accumulation of dust could affect the accuracy. Furthermore, a clean vial is also critical for the user can clearly read the result.
4. Is it centred?
No matter what surface you’re testing, put spirit levels as centred on that surface or object as possible. For surfaces that are very wide, use a longer level type.
5. Is the reading consistent?
Once you’ve got that baseline-centred reading, slide the spirit level a little to the right and the left to see if the readings remain consistent along the surface.
6. Make your adjustments
Remember, that bubble will indicate the trueness of your surface relative to the horizon (or the horizontal plane), so if it’s not dead-centred then you’ll have to make the necessary adjustments. On the contrary, you may actually be seeking a not-centred bubble – like if you’re grading a floor or gutters for water drainage.
If you desire a flat horizontal surface:
- If the bubble is centred between the vial guidelines, the surface is level
- If the bubble is to the left, the left aspect of the tested surface is too high.
The right spirit levels for the right tasks
As well as different sizes, materials and quality/precision levels, there are actually over a dozen basic types of spirit levels – including box beam, screed, I-beam, torpedo, bull’s eye, post and many more. What exact product best fits your particular industry, daily tasks, preferences and budget? If you need some assistance matching your needs with the perfect spirit levels, get in touch with our experienced industry guides.


