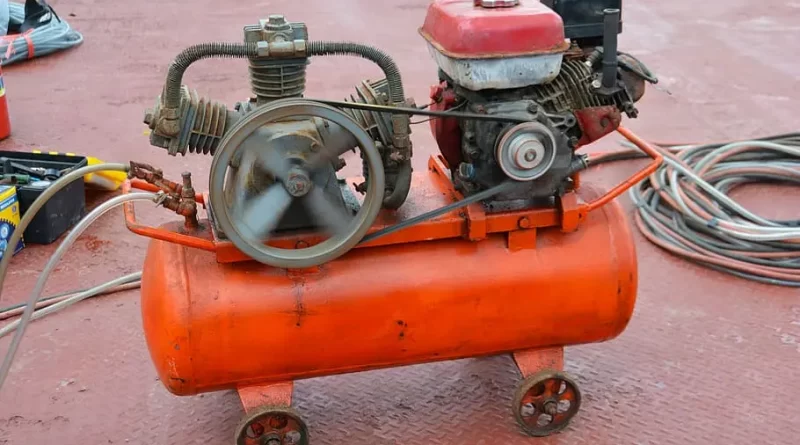
How To Adjust the Pressure on an Air Compressor
The adjustable pressure controlled by a pressure switch is the critical factor in an air compressor is t. Larger models may have central compressor controllers. To achieve optimal results, pneumatic tools connected to the air compressor require the right pressure. Adjust the pressure based on the requirements of the pneumatic devices to minimize costs and improve efficiency.
Here are the steps to adjust the pressure on a standard air compressor:
Confirm Safety
Disconnect the power source and allow it to cool down. Check whether all air compressor parts are secure and free of dust and debris. Confirm that no hoses or other components show signs of wear. Drain the pressure out of the tank using the drain valve. That may assist in preventing accidents or injuries.
Locate the Pressure Switch
Read the tag, datasheet, or manual to find the springs. The large spring determines the lower or upper-pressure limit, while the smaller spring establishes the differential pressure. The springs are fixed to screws for fine-tuning.
Determine the Recommended Pressure
Find the recommended pressure level you want to set for your compressor. Refer to the manufacturer’s guidelines or the specifications of the equipment used with the compressor. Depending on the pressure switch’s model or configuration, one can fine-tune the pressure setting with a locked differential or fine-tune the pressure setting and the differential.
Adjust the Screw to Set the Cut-In Pressure
Adjusting the screw in a clockwise direction will raise the pressure while turning it in a counter-clockwise direction will lower it. Look for clear labels on the pressure switch indicating how to increase or decrease the pressure. To maintain stable pressure, close the drain valve once the pressure falls below the recommended cut-in pressure.
Monitor the Pressure Gauge and Adjust
Close the drain valve and connect your compressor to the power supply. Run the air compressor until you attain the cut-out (upper limit) pressure. Use the drain valve to expel the compressed air slowly, and find the new cut-in valve. Localize the pressure to accelerate the compression rate and test. The system’s lines will not require pressure before the cut-out point is attained. The system should turn on once the pressure reaches the lower limit.
Set the Cut-Out Pressure
Adjust the cut-out pressure by turning the screw clockwise to increase the pressure setting. The pressure switch should shut off when the set point is reached and turn back on again if the pressure falls below the cut-in level. Set maximum cut-out pressure according to the manual specifications and requirements.
Test the Pressure
Switch on the compressor. If the system’s motor stops, the pressure exceeds the cut-out point. Repeat the process and adjustments to stabilize the pressure within the desired range. Connect equipment or tools and check if they run well with the pressure settings or require additional adjustments. Fully pressurize the system and check for a hissing sound that may indicate leakages or loose connections.
Purchase an Air Compressor Today
Adjusting the pressure on an air compressor requires skill and patience. Carefully follow the above steps to set a stable pressure range for your equipment or tools connected to it. Before making adjustments, take extra safety precautions and carefully read the manufacturer’s instructions. If in doubt, contact technical support or enlist professional assistance. Buy a quality air compressor today to maximize its efficiency and get started on your projects.


